BLOG

Tips & Tricks For An Accurate Scan
Introduction:
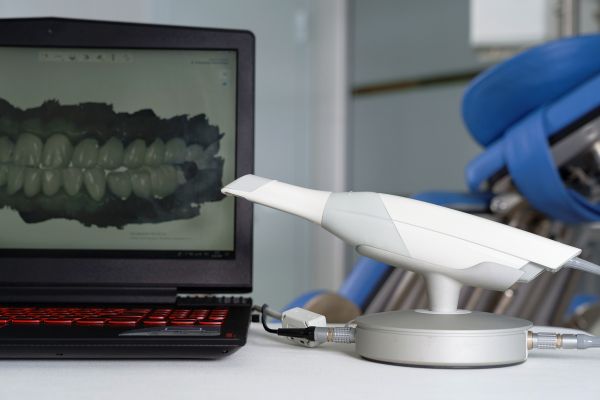
Gone are the days when traditional dental impressions ruled the roost. With advancements in technology, dental professionals now have access to a highly accurate and efficient tool: intraoral scanning. Intraoral scanners enable dentists to capture detailed digital impressions of a patient's mouth, revolutionizing the field of dentistry. In this blog post, we will explore the steps a dentist can take to obtain an accurate intraoral scan, ensuring optimal results and enhanced patient experience.
In order to achieve adjustment free results with restorative dentistry it is imperative that an accurate bite scan is recorded. So many doctors are taking inaccurate scans and sending them to the lab & getting inaccurate results
With that said, here are 6 tips to help you achieve accurate bite scans so you can experience adjustment free results!👊
1. Use a 2x2 Gauze To Wipe Everything Dry
Be sure to wipe all surfaces dry before taking any scans. That includes the prep, contacts & occlusal surfaces. Anything on the surface like saliva, debris etc... can cause a distortion in the scan
2. Do The Bite Scan While Patient is "Clenching"
Sometimes patients can get confused when you just tell them to "bite" for the bite scan. Instruct the patient to "Clench" when doing the bite scan. That way you know they are in maximum intercuspation when you're doing the scan
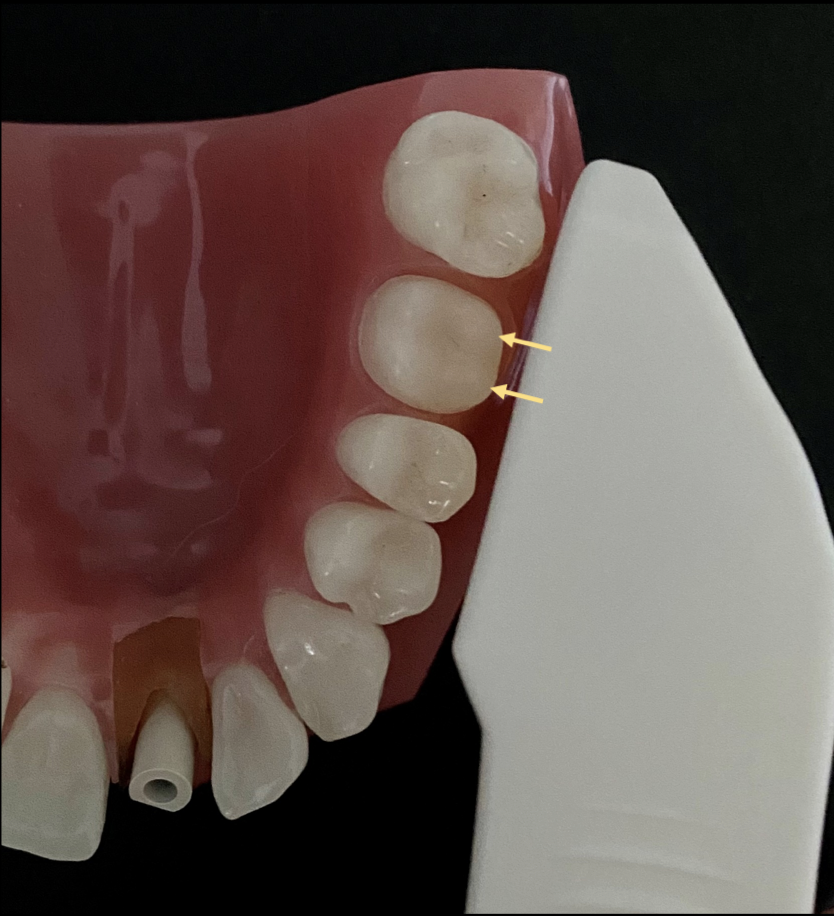
3. Scanner Tip angled 90 Degrees Towards Any Surfaces Being Scanned
This one is a little difficult to explain so here's a picture help clarify. The scanner tip can read more accurately at 90 degree angle

4. Full Arch Scan For Esthetic Zone
When restoring any teeth in the esthetic zone, Its important to have the entire arch scanned. That way the technician can see the anatomical features of the existing teeth and create symmetry with the new restoration. If the patient is getting a new smile its important to capture the hamular notches so the case can be mounted correctly with a level occlusal plane.
5. Scan 3/4 Of The Mouth For Any 2 Units Or Last Molars
If the patient is getting more than 1 unit restored its important to scan 3/4 of the mouth, that way the technician can emulate the pathological function of the patient with the models and ensure all excursions are clear with no interferences.
6. Assure Margins Are Fully Visible With Retraction Or Laser
Last but not least this one is pretty self explanatory. If you don't have a clear margin scan you could potentially end up with open or inaccurate margins when the crown comes back to the office. So if the margin isn't clear be sure to use retraction or a laser to ensure that it is visible.
Conclusion:
If you have all 6 of these things in mind when scanning you have done everything on the clinical side to achieve adjustment free results. The rest is up to us to make sure you're crowns are dropping in nicely.
If you haven't tried the superior quality of Ocean Ceramics be sure to book a call with us to get started!
You can book a time to chat with us here
Happy Scanning!
TAGS
ABOUT US
Ocean Ceramics is a
dental lab in Vancouver,
BC that educates and delivers full and partial mouth reconstruction, including implants, crowns and prosthetics.
CONTACT US
Ocean Ceramics Ltd.
#1-3180 262nd Street
Aldergrove, BC
V4W 2Z6
1(604) - 777 - 1337
OUR FAMILY
Ocean Ceramics
Denta4
Trio
