
Diy, Painting
Painting Your Walls & Getting It
Right The First Time
Even the the best paints won’t look good if you don’t apply them properly. Thin spots, rollers marks,
and paint runs are just some of the imperfections that will mar the finished result.
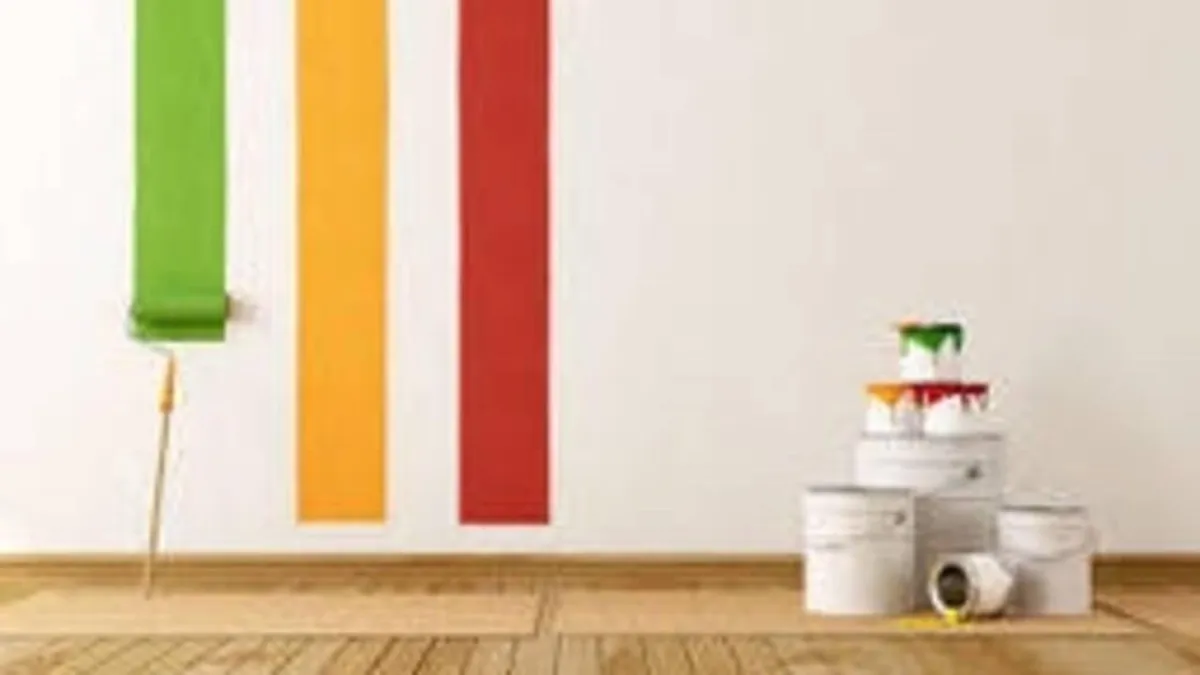
With the right tools and technique, however, you can have smooth results in just one coat, even if
you’re painting a dark wall with a light-colored paint. That promise is supported by our tough hiding
test, in which we paint over stripes that get increasingly darker to see how much coverage each paint
delivers.
We have the luxury of working on clean test panels. To create a similarly stable surface, scrub the area
you’ll be painting with a sponge and mild household detergent solution. Do this before you visit the
paint store so that the walls will be dry when you return. If you’re working in a finished room, put dow
n drop cloths to protect floors, furnishings, and the like. Then follow these steps to learn how to paint
a room and get an A+.
Step One: Prep the Paint
Pour a thick film of paint into the sloped section of the tray until the reservoir is filled about half way;
disposable liners will save time with clean up. A plastic paint pourer, which costs a few bucks at
hardware stores and home centers, will help prevents spills. Punching a few holes around the rim of
the can with an awl or large nail is another way to minimize the mess.
Step Two: Cut in the Edges
Sometimes called trimming in, cutting in is when you paint a couple-inch-wide strip around any borders
of a wall where the paint roller can’t easily reach. The process traditionally calls for painters tape to
} protect adjacent surfaces, but our experts get excellent results in a fraction of the time with a plastic
paint edger. The tool, which costs a few bucks anywhere paint is sold, features a woven pad and guide
wheels that roll along the trim, ceiling, or corner.
Rather than dipping the edger into the paint tray, load it using a roller. That will help prevent the
wheels from catching paint and creating a mess. Then you’re ready to cut in the room by running
the tool along its various edges, wheel side facing the edge. Reload the paint using the roller
as needed.
Step Three: Roll on the Walls
Once the entire room is cut in, switch to the roller to fill in the large fields. This is the most
satisfying part of the project, as the room fills with new color. But you need to use the correct
technique or the finish will have all sorts of imperfections, some of which won’t be apparent
until the paint dries.
We like short-nap rollers (1/4-inch deep) for most interior projects, since they tend to
result in less splatter while still rolling on a smooth, thick coat—provided you follow what
we like to call the four S’s.
- Saturate. Load the roller by passing it through the paint several times to force in the paint. Then
do a few lighter passes until the paint is just about dripping from the roller.
- Smear. In a 2×2-foot section smear the paint in an X, V, or Z pattern.
- Spread. Spread the paint to cover the 2×2-foot section. It doesn’t matter which way you roll
because you’re going to smooth it over.
- Smooth. Do a series of single roller passes from top to bottom to smooth it out.
Repeat this process in 2×2-foot sections until the room is finished.
Though this technique should deliver perfect results, it’s always a good idea to keep leftover paint for
future touch-ups. If you’re using the original container, close the lid tightly, tapping it with a hammer.
Write the date you used the paint and the room you painted with a permanent marker. Don’t store it in
sunlight or near a heat source or anywhere that it might freeze.
Jul 16, 2016
© 2021 From Our Family To Yours Our Success is a Family Affair
© 2021 From Our Family To Yours Our Success is a Family Affair
The Griesser LaPierre Team | Heather Griesser LaPierre Realtor | Director of Kids
Against Hunger Philadelphia | License# RS271482 | [email protected]


