Blog Posts
Mastering Lighting for Testimonial Video Production
Testimonial videos have emerged as a cornerstone of successful marketing strategies for businesses in a broad range of industries. They are powerful tools used to foster trust, highlight customer satisfaction, and attract potential customers.
Over the years, we've seen an evolution in the creation and consumption of testimonial videos. They've transitioned from optional extras to vital elements in the content marketing mix.
As they continue to grow in popularity, so does the need for these videos to be professionally produced, and lighting plays an integral role in this process.
While the content and delivery of testimonials are undeniably important, one aspect that often falls by the wayside is lighting. The way a scene is lit can dramatically enhance the quality of your testimonial videos, making them more engaging and impactful.
This blog post aims to shed light on this vital subject, exploring expert lighting techniques that will illuminate your testimonial videos and help them truly shine.
Understand the Importance of Lighting in Testimonial Videos
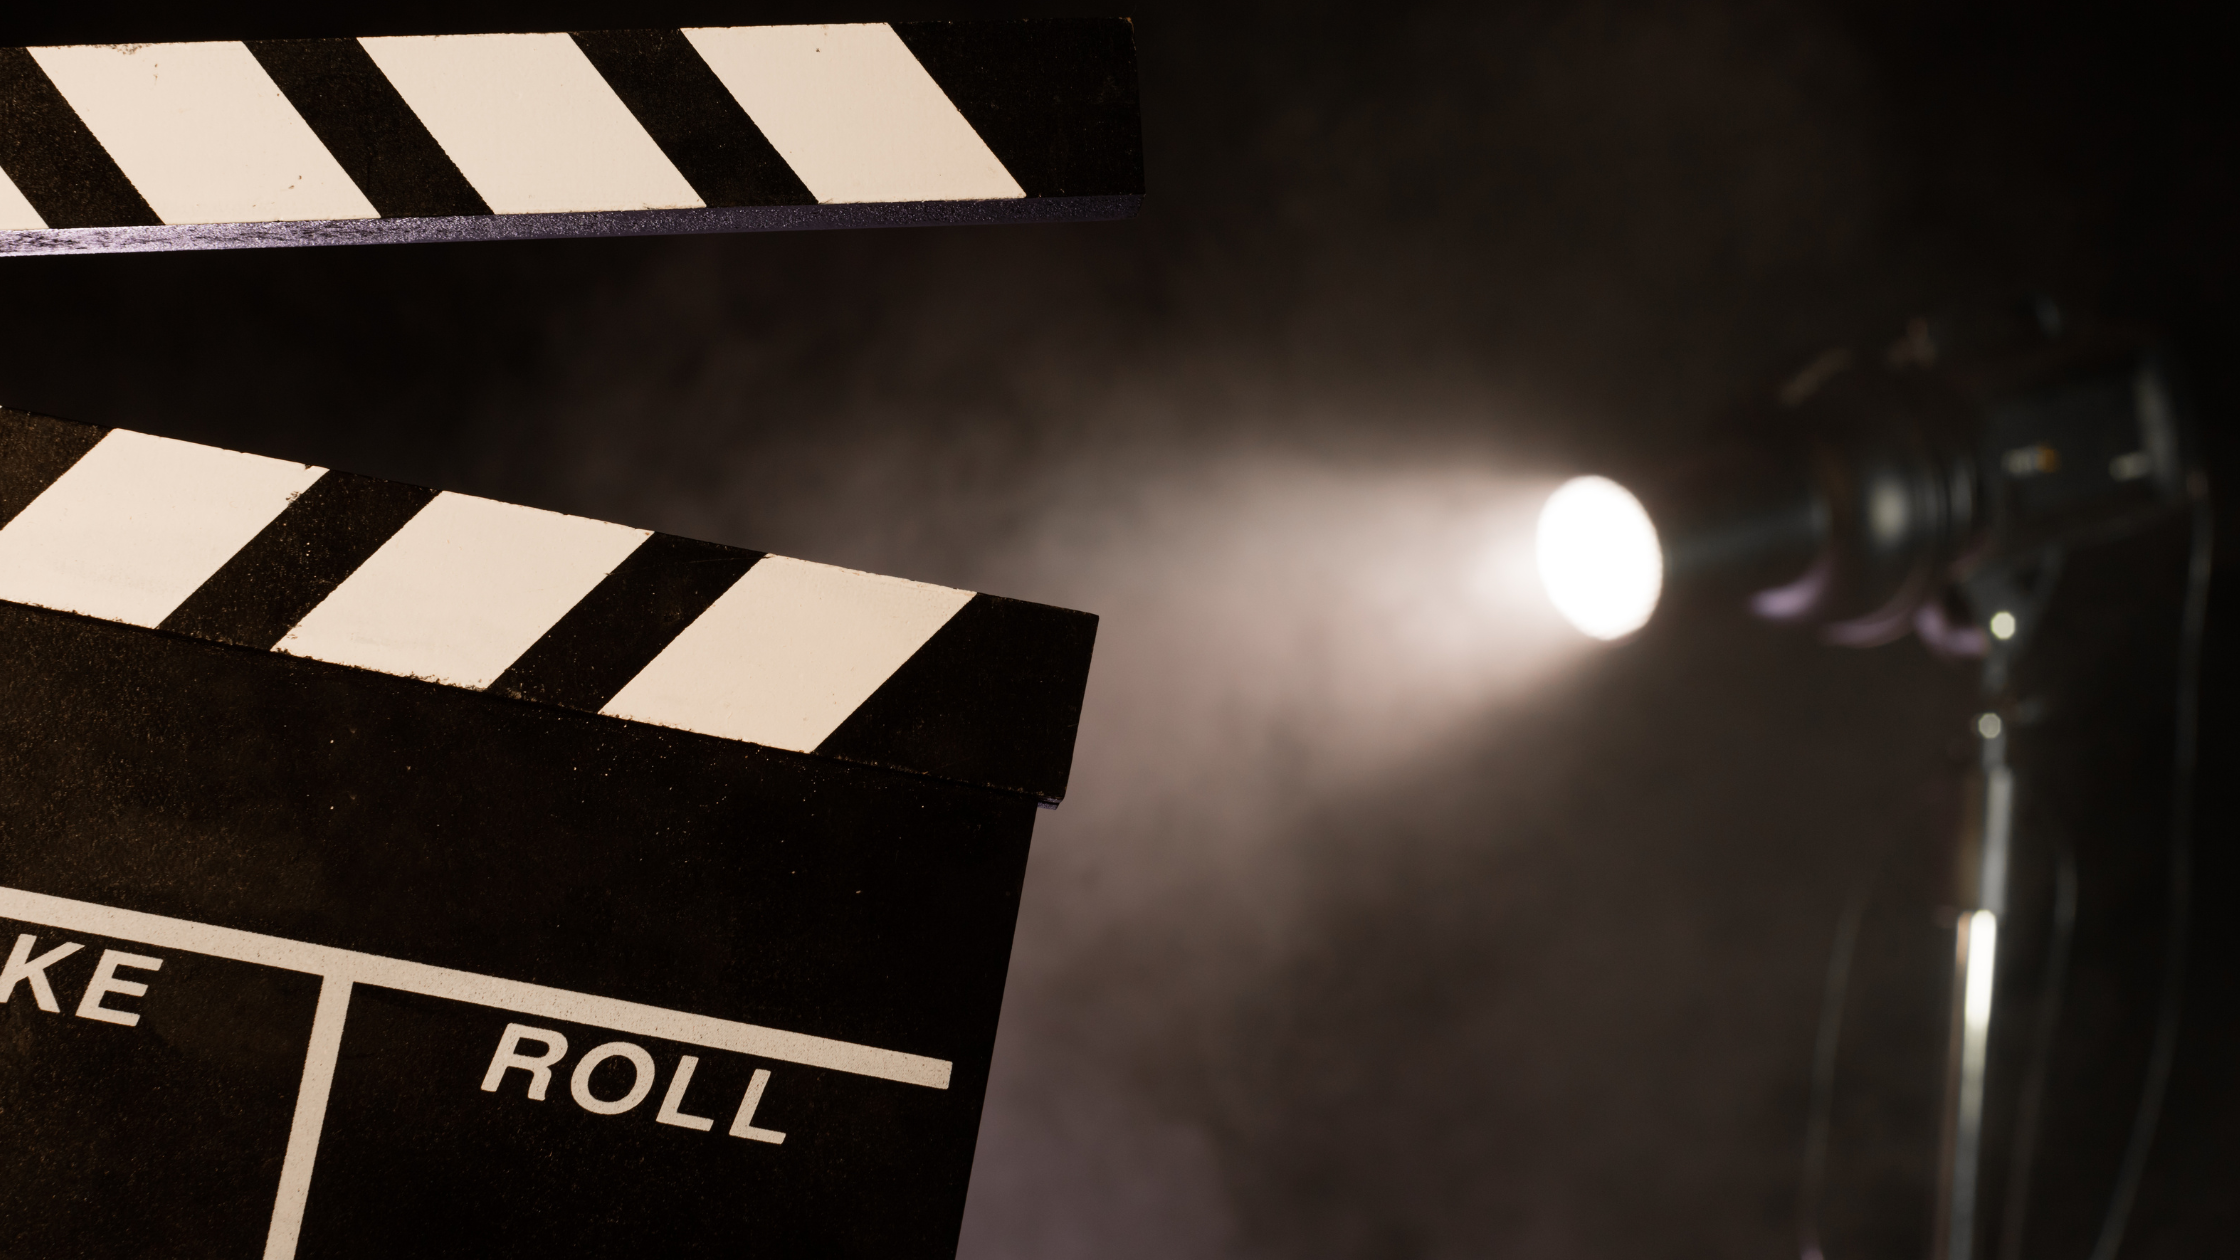
Lighting serves as a key player in setting the mood, emphasizing facial expressions, and captivating attention in testimonial videos. But to truly appreciate the role of lighting, it's worth understanding the science behind it.
Light, an essential element of photography and videography, can be hard or soft. Hard light, like that from a spotlight, produces sharp, distinct shadows. Soft light, on the other hand, like that on an overcast day, leads to softer, less defined shadows. Hard light can be used to create a dramatic effect, while soft light usually results in more flattering, even illumination.
The Science of Lighting
To fully harness the power of lighting in testimonial video production, one must first understand its fundamental principles. Just as a painter uses different brushes and colors to create a work of art, a videographer uses light as a tool to create depth, highlight details, and evoke emotions. There are several key aspects to consider when discussing the science of lighting.
Firstly, it's crucial to understand how light behaves. Light follows the inverse square law, meaning that the intensity of light is inversely proportional to the square of the distance from the source.
In simpler terms, the further the light source is from your subject, the less intense it appears. This is why small adjustments in the distance of your lighting can have a significant effect on your shot.
Secondly, it's important to distinguish between hard and soft light. Hard light is direct light that has not been diffused. It casts stark, well-defined shadows and creates high-contrast images.
This type of lighting can be dramatic and edgy but can also produce unflattering results by accentuating wrinkles and imperfections.
On the other hand, soft light is light that has been diffused or scattered. It casts gentle, less defined shadows and creates images with a broader range of tones. Soft light is flattering for most subjects and is generally preferred for testimonial videos to portray the subject in a positive light.
Another crucial concept in lighting is color temperature, measured in degrees Kelvin (K). Lower temperatures (around 2000-3000K) produce warm, orange light, often associated with sunrise or sunset. Higher temperatures (above 5000K) yield a cooler, blue light, similar to a cloudy day. The choice of color temperature can drastically affect the mood and perception of your video.
Understanding these principles of lighting is essential for video production. By manipulating distance, light hardness, and color temperature, you can control the aesthetic and emotional impact of your testimonial videos. Thus, light is not merely an illuminator—it's a storyteller.
Visibility:
Lighting is a crucial aspect when it comes to ensuring the visibility of your subjects in testimonial videos. Good lighting doesn't merely mean that everything is well-lit; it means that the lighting complements the subject and the setting, enabling the audience to focus on the message being delivered without distractions.
Without proper lighting, you risk the creation of harsh shadows, uneven lighting, or poor visibility. These problems can become distractions, leading the audience away from the essential content of your testimonials. For instance, dark shadows could obscure a subject's facial expressions, an essential aspect of human communication. Or, uneven lighting might focus the viewer's attention on less important areas of the scene, diverting their attention from the subject.
Additionally, good lighting adds depth to your shots. By carefully controlling the light and shadows in your scene, you can make your subjects stand out from the background, giving a three-dimensional feel to your videos and making them more engaging to watch.
Emotional Impact:
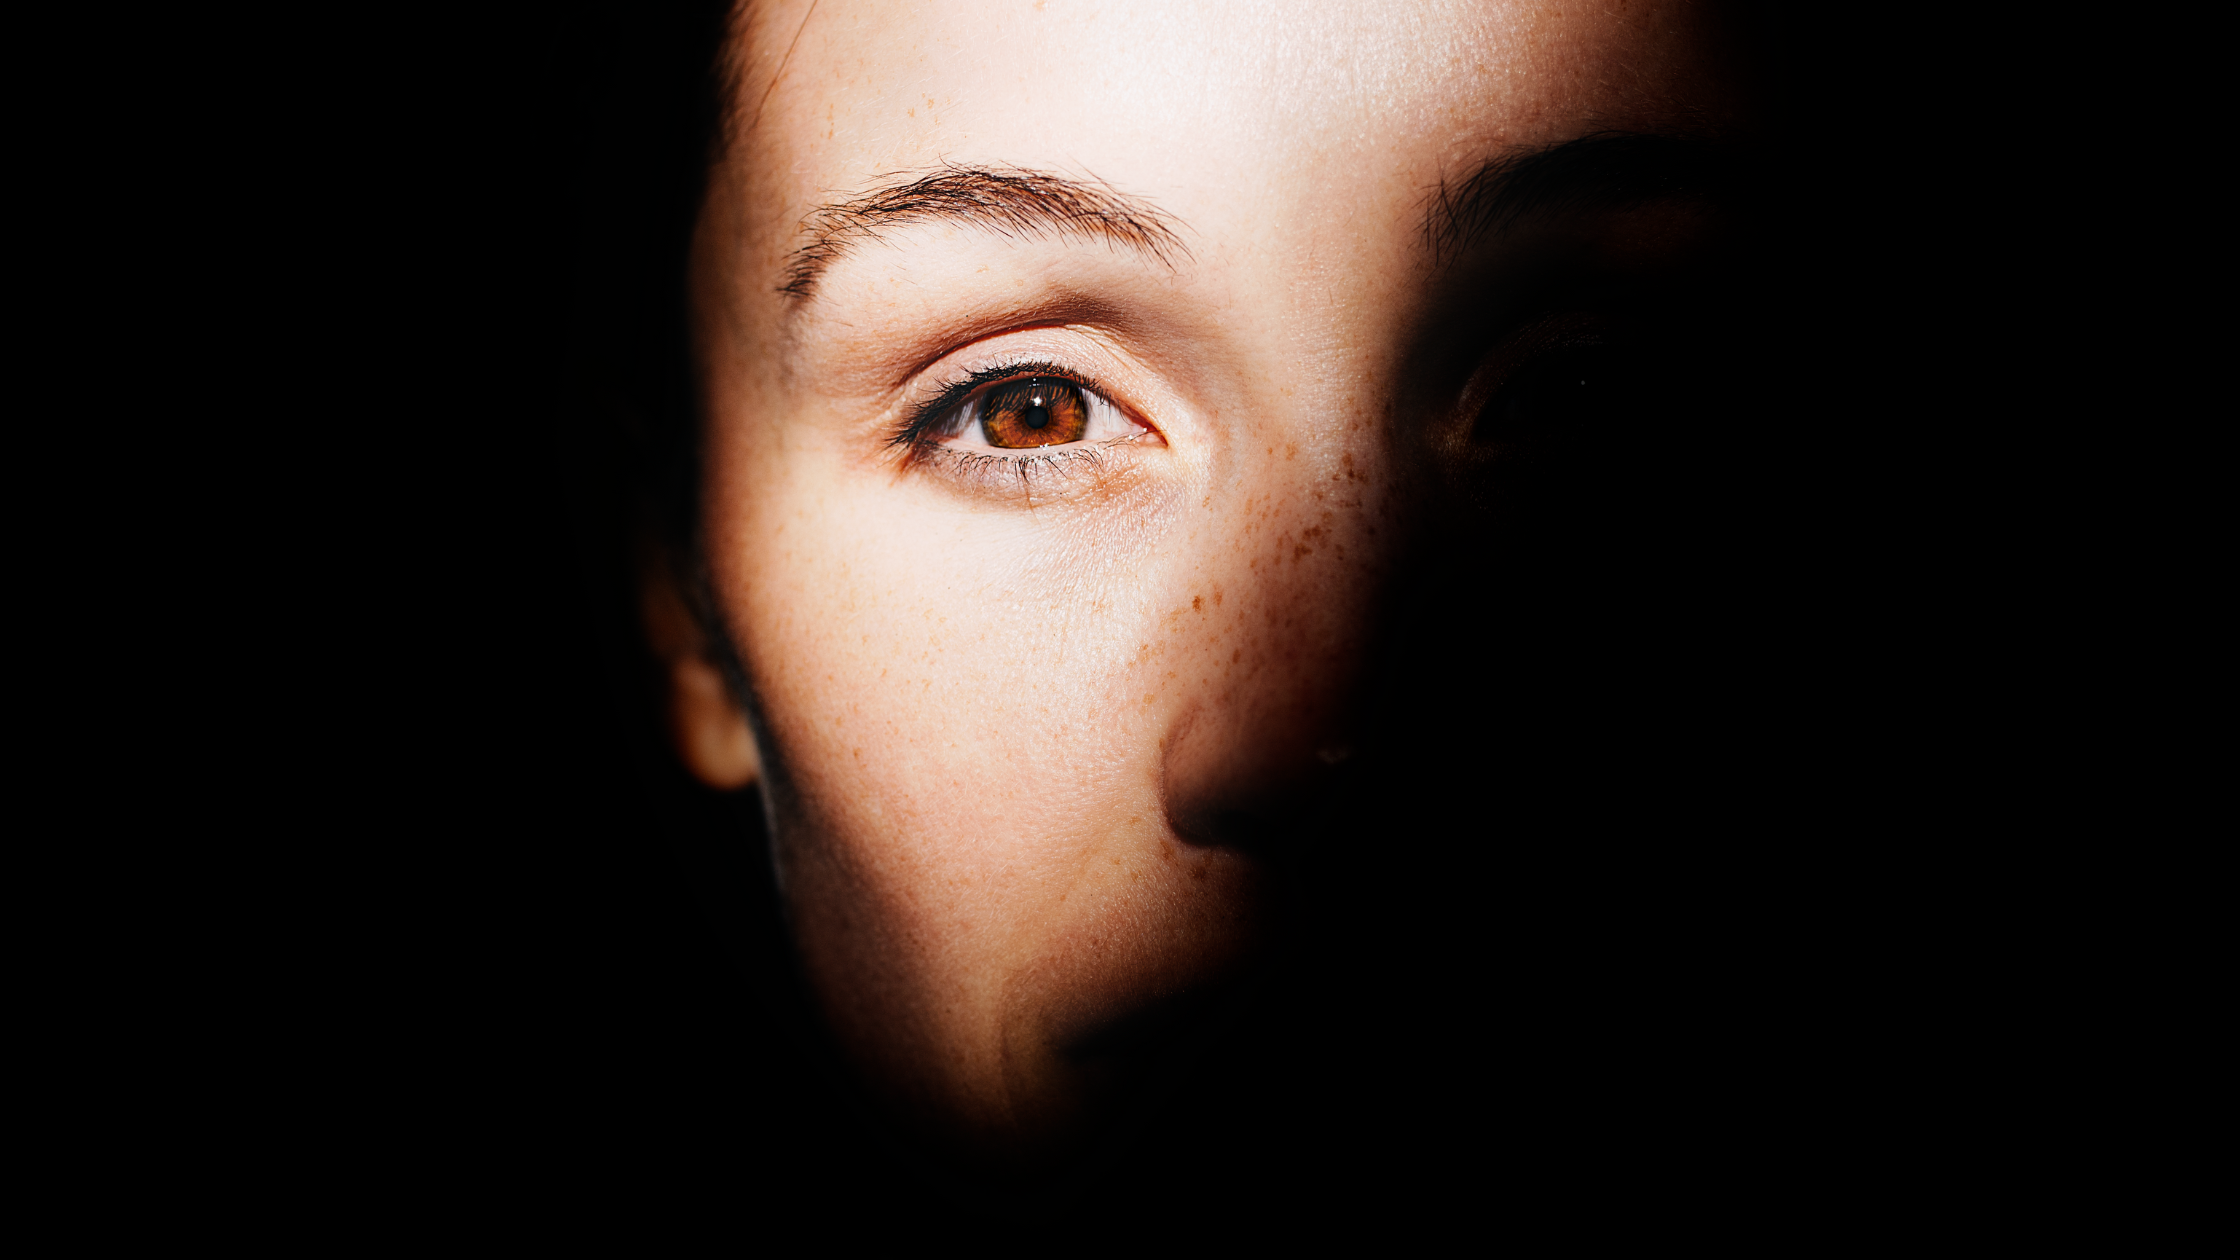
Lighting plays a significant role in shaping the emotional tone of your testimonial videos. Through careful lighting design, you can guide your viewer's emotional response and deepen their engagement with the content.
For instance, softer, warm lighting can create an atmosphere of intimacy and warmth, making viewers more receptive to the testimonials being shared. It can evoke feelings of comfort, honesty, and empathy, helping to build a strong emotional connection between the viewer and the person sharing their testimonial.
In contrast, cooler or harsher lighting might be used to convey a more serious, stark, or professional tone. Lighting can also be used to highlight important moments or changes in mood within a testimonial.
By consciously using lighting to evoke specific emotions, you can also capture emotional moments to enhance the effectiveness of your video testimonial and make them more impactful for your audience.
Professionalism:
The quality of lighting in your video testimonial is a direct reflection of your brand's professionalism and attention to detail. Just as a well-lit photograph looks more professional than a poorly lit one, well-lit video testimonials convey a sense of quality and expertise.
Poorly lit videos can give an impression of carelessness, suggesting a lack of effort or investment in creating the video. This lack of professionalism in presentation can extend to the audience's perception of your brand, making them less likely to trust your products or services.
On the other hand, a well-lit video can instill confidence in potential customers. It shows that you value quality and professionalism, which can transfer to how they perceive your products or services. It suggests that you're willing to put in the time, effort, and resources necessary to present your brand in the best possible light, creating a positive impression on your potential customers.
In conclusion, proper lighting enhances visibility, creates emotional impact, and conveys professionalism, all of which are essential for creating an effective video testimonial. By paying attention to lighting in your videos, you can ensure that your message is conveyed clearly and compellingly to your audience.
Key Light and Fill Light: Lighting Techniques for Testimonial Videos
Understanding the importance of lighting brings us to the practical aspect – how to effectively light your video testimonial. There are several expert techniques to choose from:
Three-Point Lighting:
This classic lighting technique involves using three primary light sources - key light, fill light, and backlight. The key light is the main light source that illuminates the subject's face, usually placed at a 45-degree angle to the side.
The fill light helps reduce shadows by filling in the opposite side of the subject, and the backlight separates the subject from the background, adding depth to the shot.
Natural Light:
Utilizing natural light can provide a soft and flattering look to your testimonial video. Position the subject near a window with diffused light or shoot outdoors during the golden hour (the hour after sunrise or before sunset). Avoid harsh sunlight that can create unflattering shadows or cause the subject to squint.
Softbox or Umbrella Lighting:
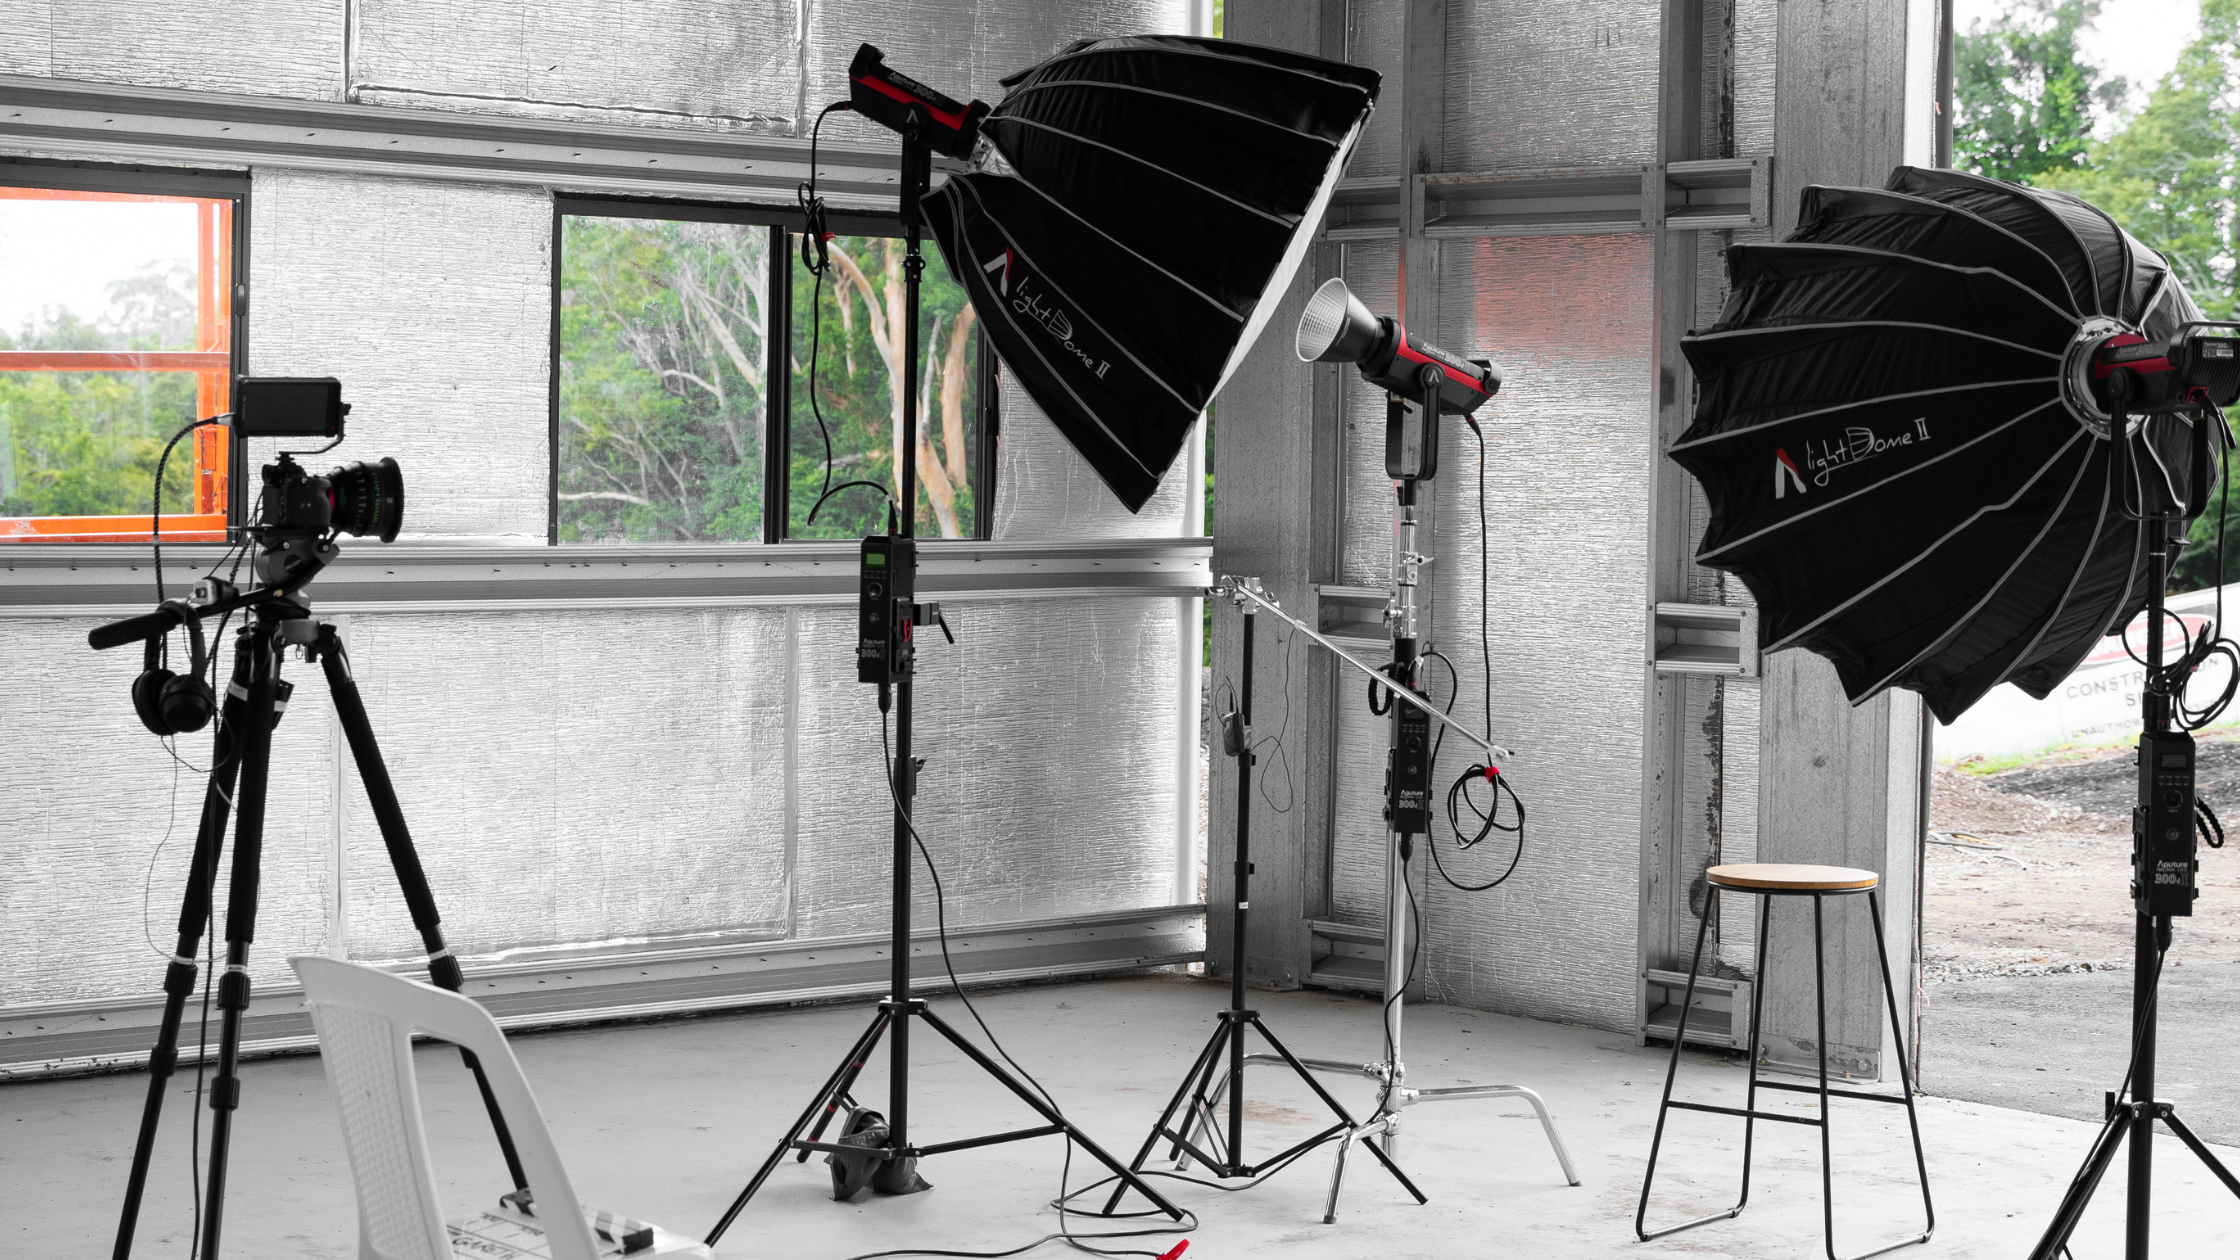
Softbox or umbrella lighting setups are ideal for achieving a well-diffused and even light source. These tools help eliminate harsh shadows and create a more flattering look. Place the softbox or umbrella slightly above and in front of the subject, ensuring the light falls evenly on their face.
Background Lighting:
Don't forget about the background in your video testimonial. Adding a subtle backlight or accent light to the background can create depth and visual interest. This technique helps separate the subject from the background and adds a professional touch to your videos.
Tips for Lighting Setup and Equipment
With the right strategies and equipment, you can bring the vision for your video testimonial to life. Here are detailed tips for setting up your lighting and selecting the right equipment for shooting video.
Test and Adjust:
Before you dive into recording your video testimonials, it is of utmost importance to spend time testing and adjusting your lighting setup. This is not a step to overlook, as small alterations can dramatically change the mood and aesthetic of your while shooting video testimonials.
Begin with setting up your main light source and experiment with different camera angles too. A slight shift can change the shadows and highlights on your subject, contributing to their overall appearance. Adjust the intensity of your light source too. Would a softer light better suit your video’s tone, or does a brighter light make your subject pop?
Remember, light follows the inverse square law: doubling the distance between your light and the subject quarters the brightness of the light. This rule means slight changes in the position of your lights off camera, can have significant effects on your video’s final look.
Take test shots after setting up your lighting and carefully review them. Look out for issues such as overexposure, underexposure, or harsh shadows. By identifying and correcting any potential problems before the actual video shoot, you save time and ensure your video testimonial comes out as professionally as possible.
Lighting Equipment:
Lighting equipment is an investment that can significantly improve the quality of your video testimonials. When deciding on the type of lighting to use, take into account the size of your shooting space, the number of subjects, and the desired effect you wish to achieve.
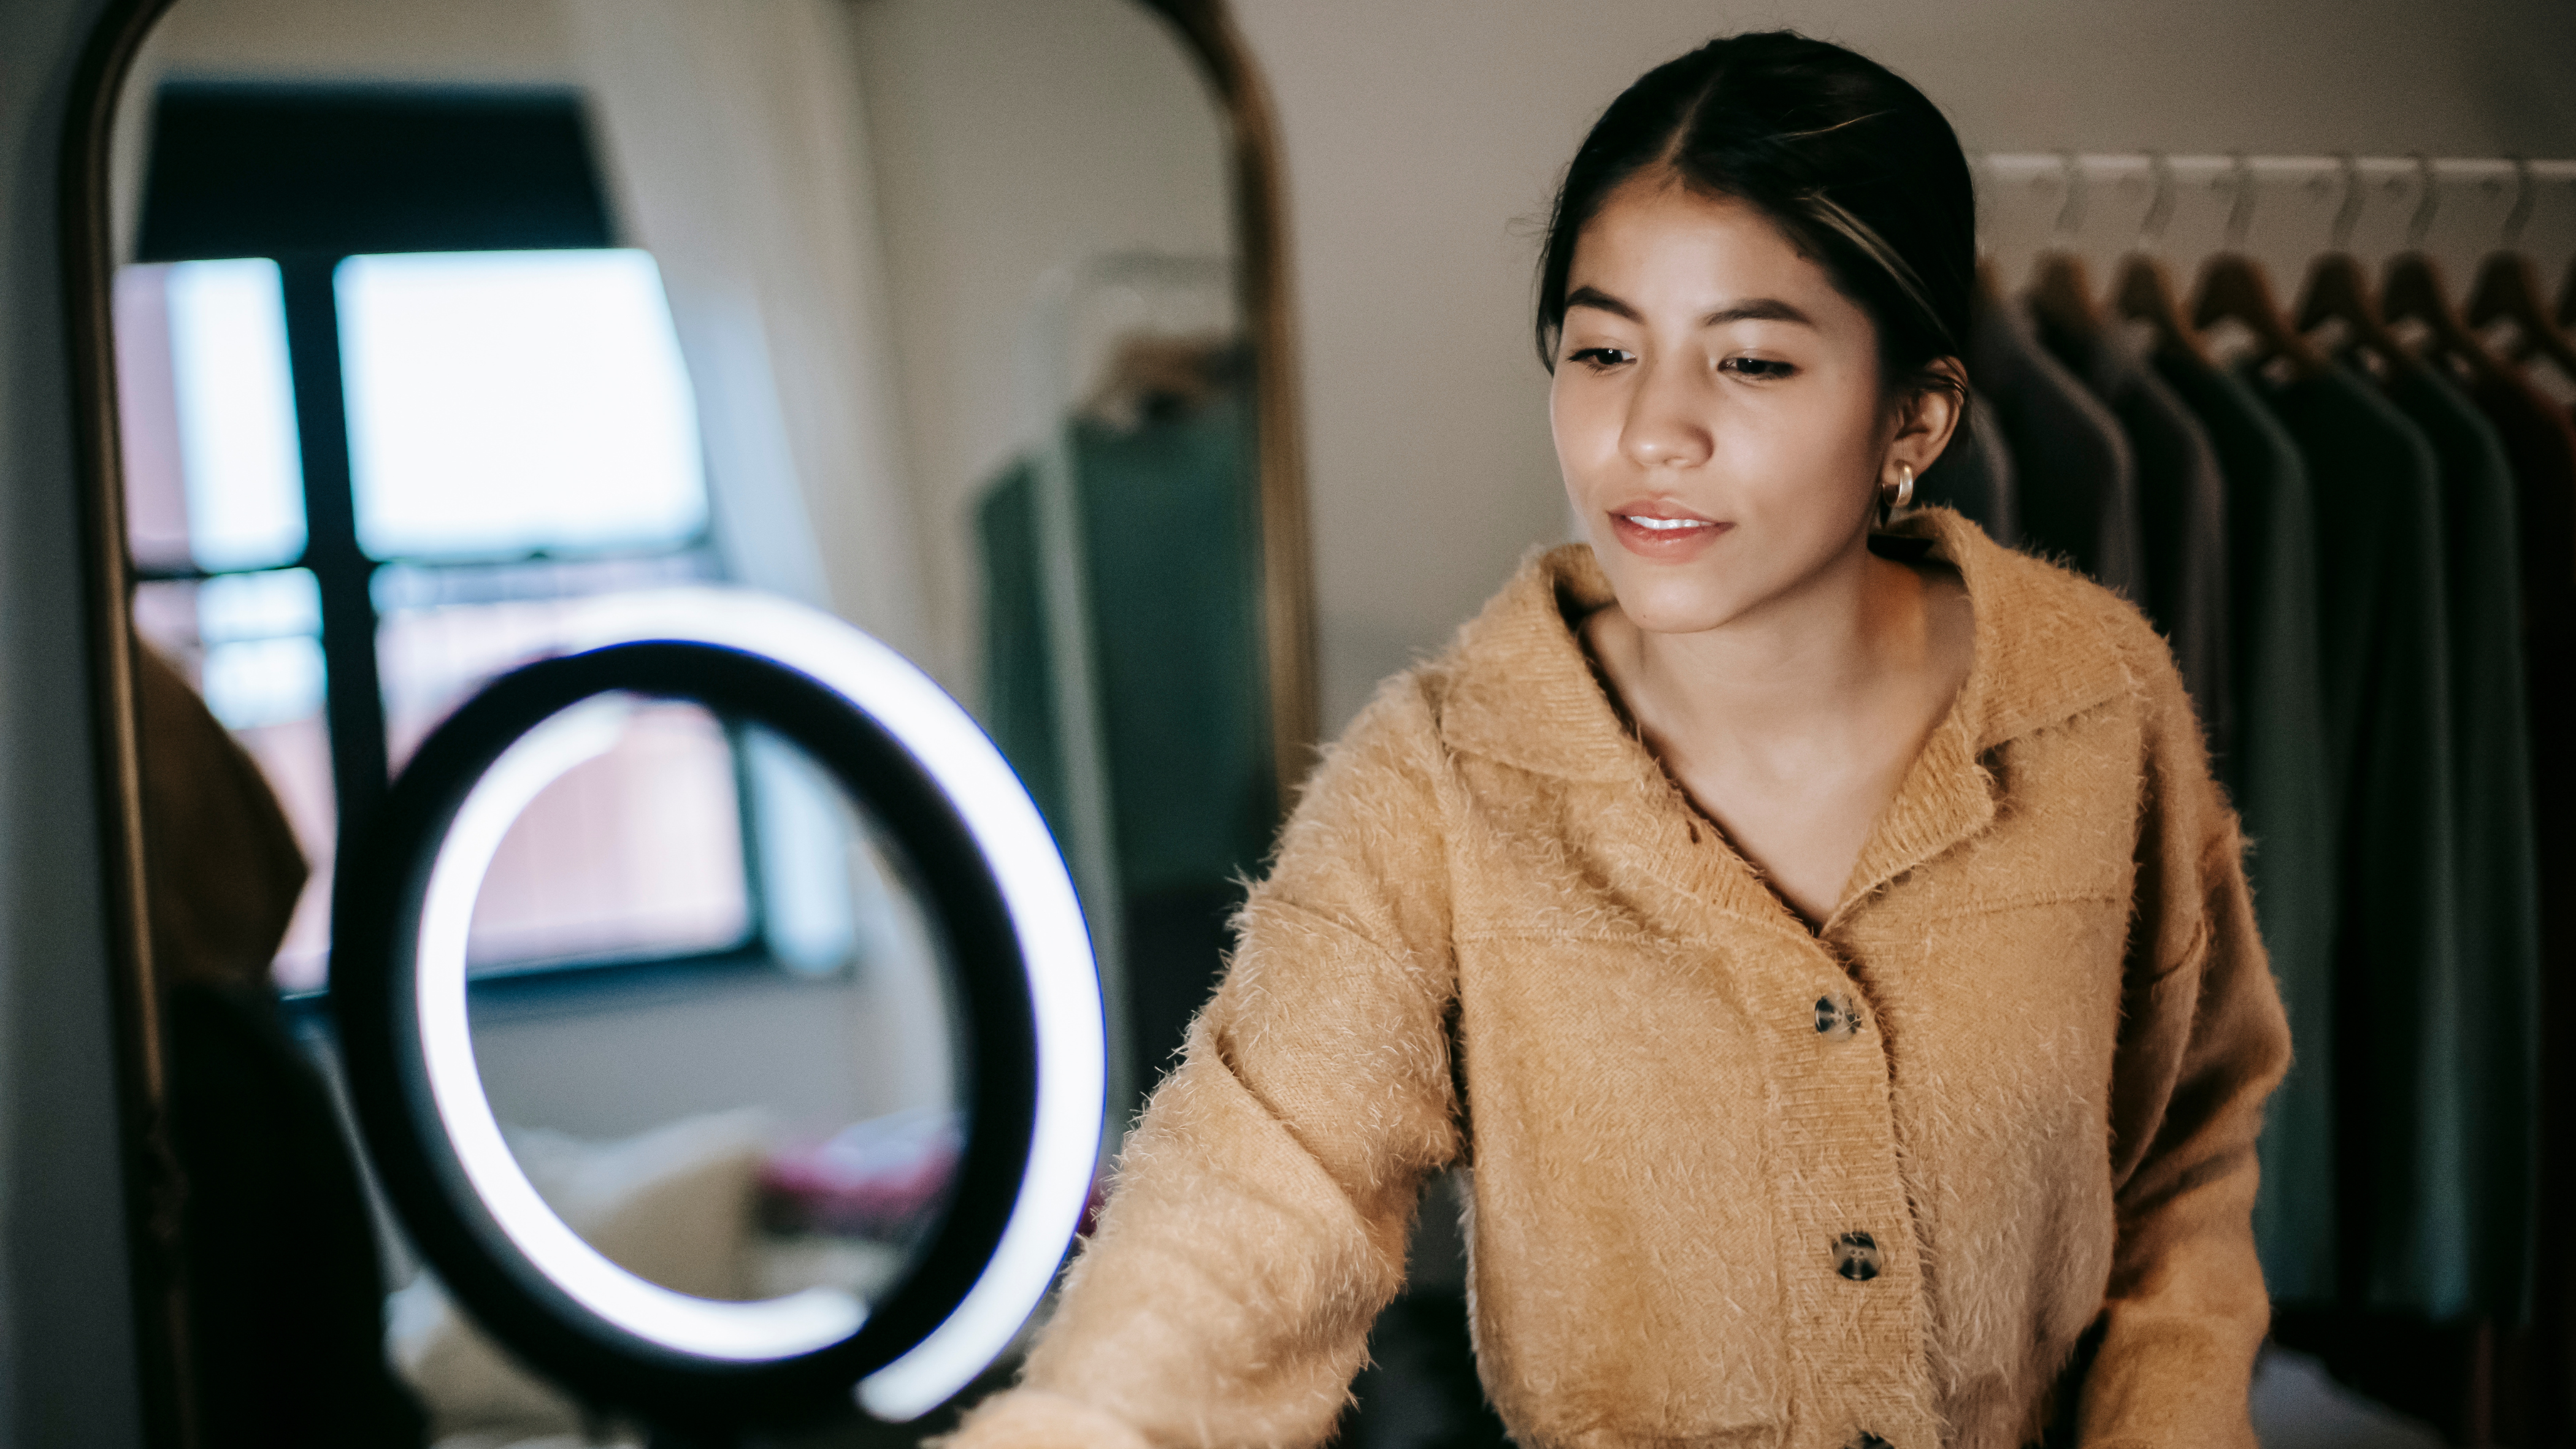
LED panels are versatile, offering adjustable brightness and color temperature. They're energy-efficient, with a long lifespan, making them cost-effective for long-term use. For videos with a single subject, ring lights are a popular choice, providing an evenly distributed light that helps reduce shadows and enhance facial features.
For a softer, more flattering light, consider softboxes. They diffuse light, reducing contrast and softening shadows, ideal for video testimonials where you want to present your subjects in the best light. Reflectors can be used to bounce light onto your subject, filling in shadows without the need for additional light sources.
When selecting your equipment, consider compatibility with your existing gear, ease of setup, and control over the light's intensity and direction.
Color Temperature:
The color temperature of your lighting can dramatically impact the mood and tone of your video testimonials. Measured in Kelvin (K), color temperature ranges from warm (lower values) to cool (higher values).
Warmer light creates a cozy, intimate atmosphere, while cooler light is associated with a more professional or clinical setting. The color temperature you choose should align with the mood you want to convey in your video testimonials.
Aim to match the color temperature of your artificial lights with the ambient light in your shooting environment. Mixing color temperatures can result in a confusing visual aesthetic. Use a white balance setting on your camera to correct any color temperature disparities and ensure consistency throughout your video.
Remember that understanding your equipment, from the characteristics of your lights to the settings on your camera, is essential for effective lighting control.
Common Lighting Mistakes and How to Avoid Them
Effective lighting is as much about avoiding mistakes as it is about applying the right techniques. Even with the best intentions, one can stumble into common lighting pitfalls. Here are some frequent errors and tips on how to avoid them:
Overexposure:
When a video is overexposed, it's too bright, causing a loss of detail in the lightest parts of the shot. This error can make the video harsh and challenging to view and cause essential details to be lost in a wash of light.
Overexposure often happens when the lighting equipment is too bright or too close to the subject, or the camera settings are not correctly adjusted for the lighting conditions. To prevent overexposure, you need to have a firm grasp of your camera settings, particularly aperture, shutter speed, and ISO.
Using a histogram, a graphical representation of the tonal values in your image, can help you detect overexposure before it ruins your shot. The histogram should be evenly distributed, and if it's skewed to the right, your image is likely overexposed.
Also, pay close attention to your lighting setup. Dim your lights or increase their distance from the subject if necessary. Remember, small adjustments can make a big difference.
Mixing Light Sources:
Different light sources can have varied color temperatures, leading to inconsistent lighting in your videos. This inconsistency can result in strange color casts, making your video appear unprofessional.
For example, mixing tungsten light (which is warm) and fluorescent light (which is cooler) can cause some areas of your shot to appear orange and others to look blue.
To avoid this, ensure all your artificial lights match in color temperature. If you're using natural light, try to balance your artificial lights to match it as closely as possible, or use a color correcting gel to adjust the color temperature of your artificial lights.
Ignoring Natural Light:
If you're shooting indoors near windows, failing to account for natural light can wreak havoc on your artificial lighting setup. Natural light varies throughout the day and can flood your scene with unwanted light, introducing inconsistencies in your lighting.
To control natural light, consider the time of day you're shooting outdoors and the position of windows. Use blinds, curtains, or diffusers to control the amount of natural light entering the room.
Alternatively, you can adjust your setup to use the natural light to your advantage. For instance, positioning your subject near a window can provide beautiful, soft lighting. But remember to white balance your camera correctly to match any artificial lights you may be using.
Avoiding these common lighting mistakes can drastically improve the quality of your video testimonial, allowing your subjects and their stories to shine.
Wrapping it Up
Illuminating a testimonial video with expert lighting techniques can elevate the quality and impact of your video content. By understanding the importance of lighting in testimonial video, exploring key lighting techniques, and following essential tips for lighting setup and equipment, you can create engaging and professional videos that leave a lasting impression on your audience.
Proper lighting enhances visibility, evokes emotions, and adds a sense of professionalism to your testimonial video. Implementing the three-point lighting technique, harnessing the power of natural light, utilizing softbox or umbrella lighting, and incorporating background lighting can make a significant difference in the overall visual appeal of your videos.
Remember to test and adjust your lighting setup before recording to ensure optimal results. Investing in high quality video lighting equipment and considering factors such as color temperature will further enhance the effectiveness of your lighting.
By illuminating your testimonial video effectively, you create a visually appealing and immersive experience for your viewers. Engaging lighting techniques help captivate attention, highlight emotions, and ultimately strengthen the impact of the testimonials being shared.
So, don't overlook the power of lighting in your testimonial videos. Embrace these expert techniques and take your videos to new heights, leaving a lasting impression on your audience and driving positive results for your business. Illuminate your testimonials and watch them shine!
Navigation
About
Interested in learning more? Sign up to get on the email list!
Copyright© 2023 The Customer Story | All Rights Reserved


